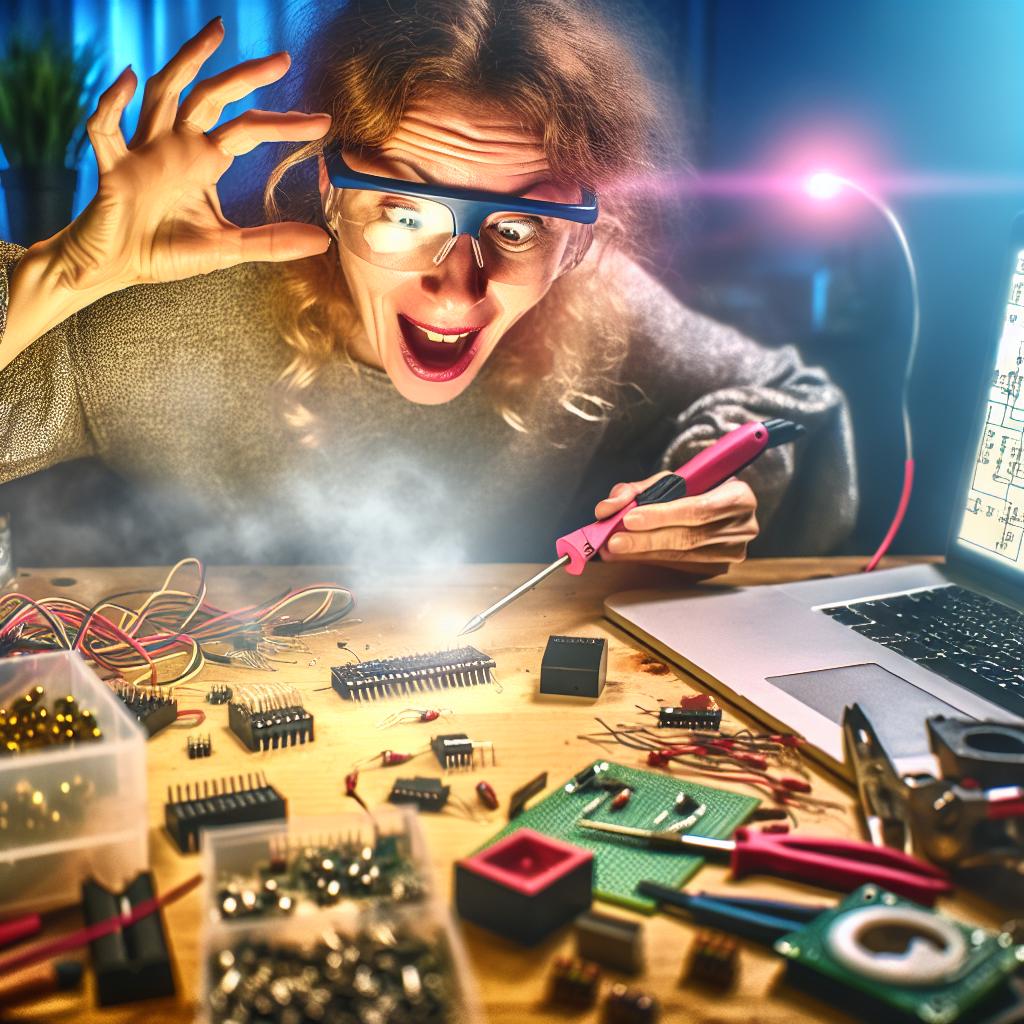
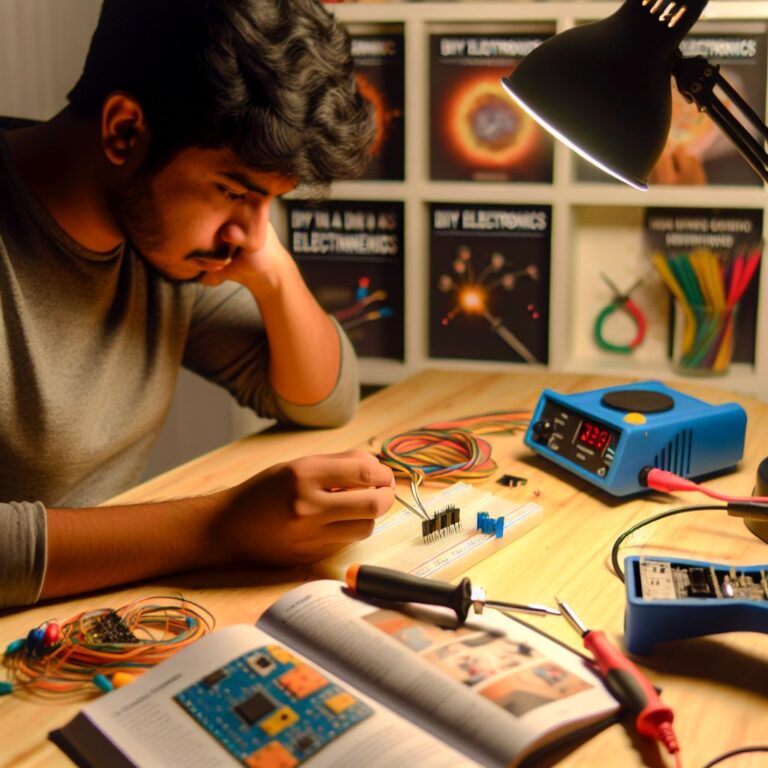
- Beginner Projects: Best beginner DIY electronics project is the Flip-Flop LED flasher using basic components like resistors, capacitors, and transistors.
- Simplest Project: Start with a basic LED flasher kit costing ~$1 to learn soldering and reading diagrams.
- Component Identification: Learn to read color codes and model numbers for resistors, capacitors, and transistors.
- Common Mistakes: Double-check component placements, ensure proper soldering, and test connections with a multimeter.
- Troubleshooting: Use a multimeter to test voltage, current, and resistance. Diagnose circuit issues section by section.
- Choosing Kits: Assess skill level, check reviews, and choose kits with clear instructions and labelling.
- Soldering Tools: Essential tools include a soldering iron, lead-free solder, desoldering pump, and multimeter.
- Improving Soldering: Practice with simple kits, clean tools, and follow guidance to avoid errors.
Ready to dive into the world of electronics? Let's get creative! DIY electronics projects are a fun way to learn while tinkering with circuits. Whether you're a complete newbie or looking for a fresh start, I'll guide you to the right projects. From identifying components to troubleshooting, I've got you covered. Discover which kits suit your skill level and master essential soldering techniques. Start your exciting journey into electronics today!
What Are the Best DIY Electronics Projects for Beginners?
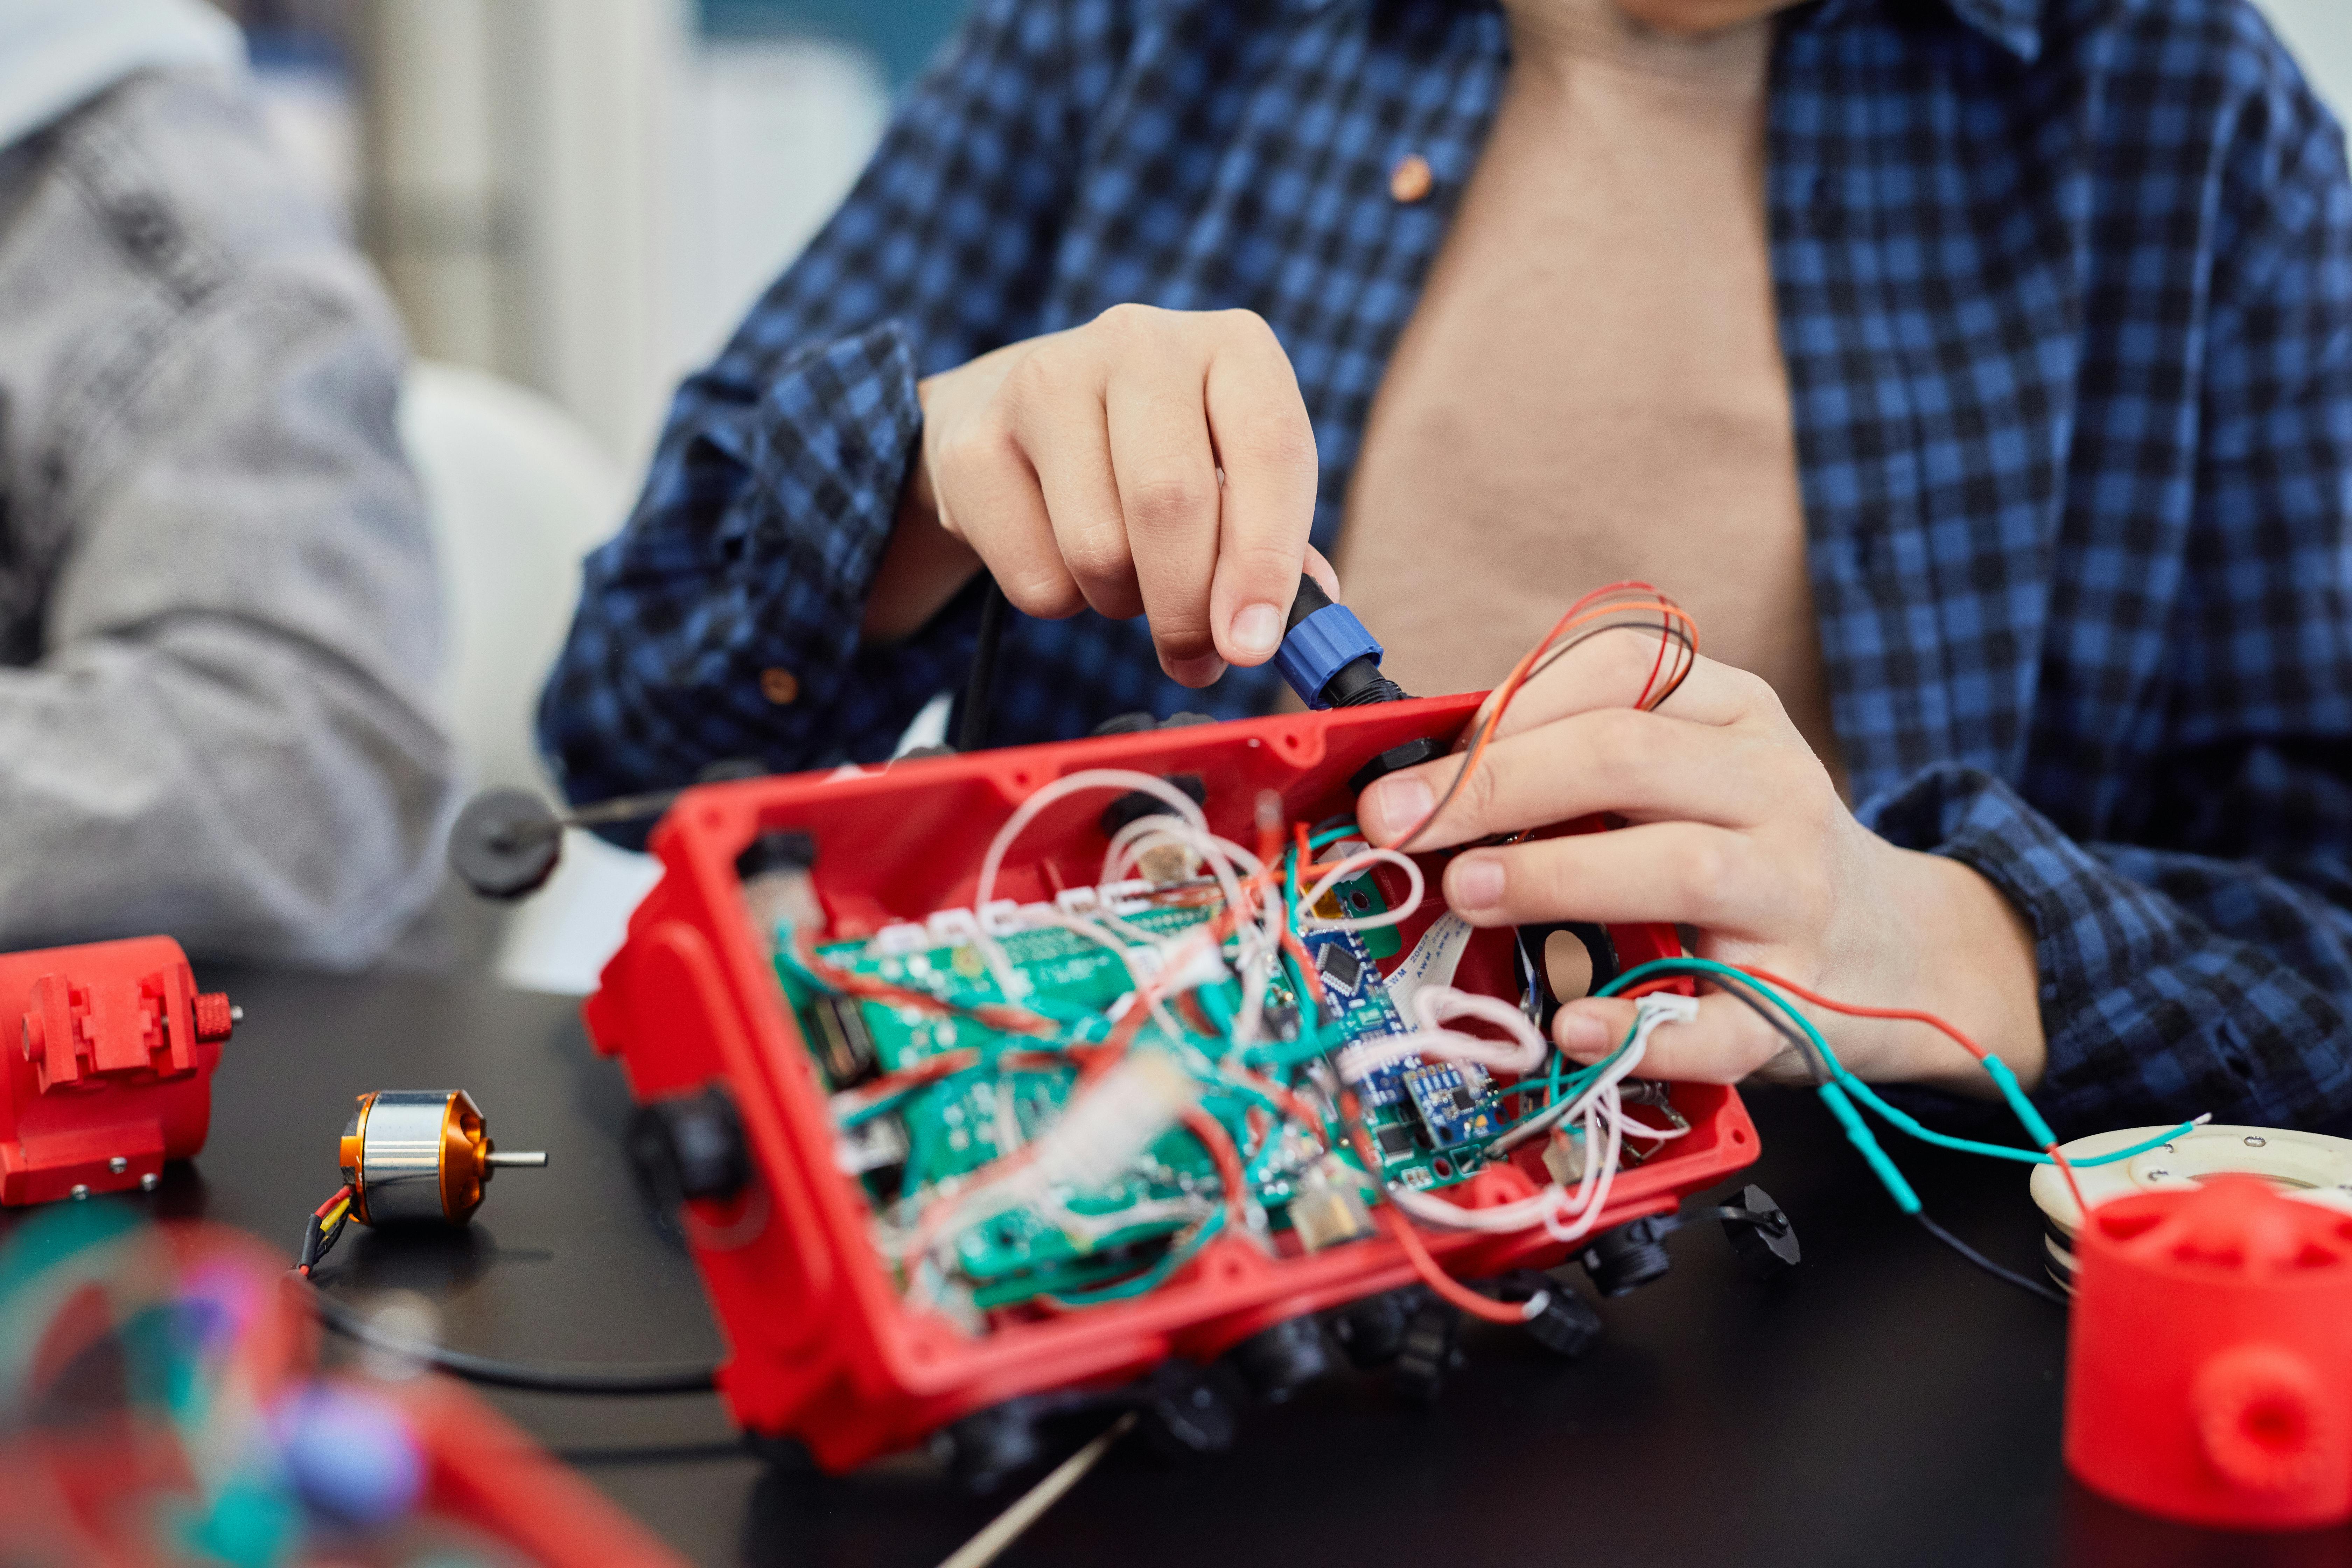
When it comes to getting started with electronics, the options can feel overwhelming. But trust me; there's no need to overthink it. The best projects for beginners are simple and require only basic tools and skills.
One good beginning project is a Flip-Flop LED flasher. It's inexpensive and teaches fundamental skills. You'll use components like resistors, capacitors, and transistors. The goal is to make LEDs turn on and off in a sequence. You'll learn to place parts correctly and solder them onto a board.
What is the Simplest Project to Start With?
The simplest project to start with is a basic LED flasher kit costing around $1. This project involves fewer parts and simpler assembly. You'll use components such as an LED, a resistor, and a battery. It’s perfect for a first-time builder. You learn to solder, identify parts, and read simple diagrams. If you’re ready to start, grab a basic LED flasher kit and follow the included guide.
How to Identify Electronic Components for Beginners?
Understanding and identifying components is key in electronics. Resistors, capacitors, and transistors form the basics. They are often labeled in different ways, so getting familiar with reading color codes and values is important. For example, resistors have color bands that tell their resistance level. Capacitors have printed values indicating their capacitance. Transistors are typically marked with their model numbers, such as BC547. Learning these helps avoid mixing up parts, which is a common mistake. Practice by checking labels and matching them to pictures as you work on your kit.
What Are Some Common Beginner Mistakes to Avoid?
Rookie mistakes are part of learning, but you can avoid them with guidance. One mistake is misplacing components, which can ruin your circuit. Always double-check placements before soldering. Another error is poor soldering, which leads to weak connections. Always use clean tools and apply solder to both the wire and the pad. Skipping these steps can lead to project failure. Beginners also often skip testing connections. Before moving forward, use a multimeter to check your work. It helps catch errors early, saving time and frustration later.
To succeed, remember these tips. Start small, identify your parts, and be precise. Each mistake holds a lesson, but careful steps prevent setbacks. I encourage you to embrace each project. They offer a chance to deepen your understanding and creativity. Embrace the challenge, and electronics may soon become your favorite hobby.
How Can You Troubleshoot DIY Electronic Projects Effectively?
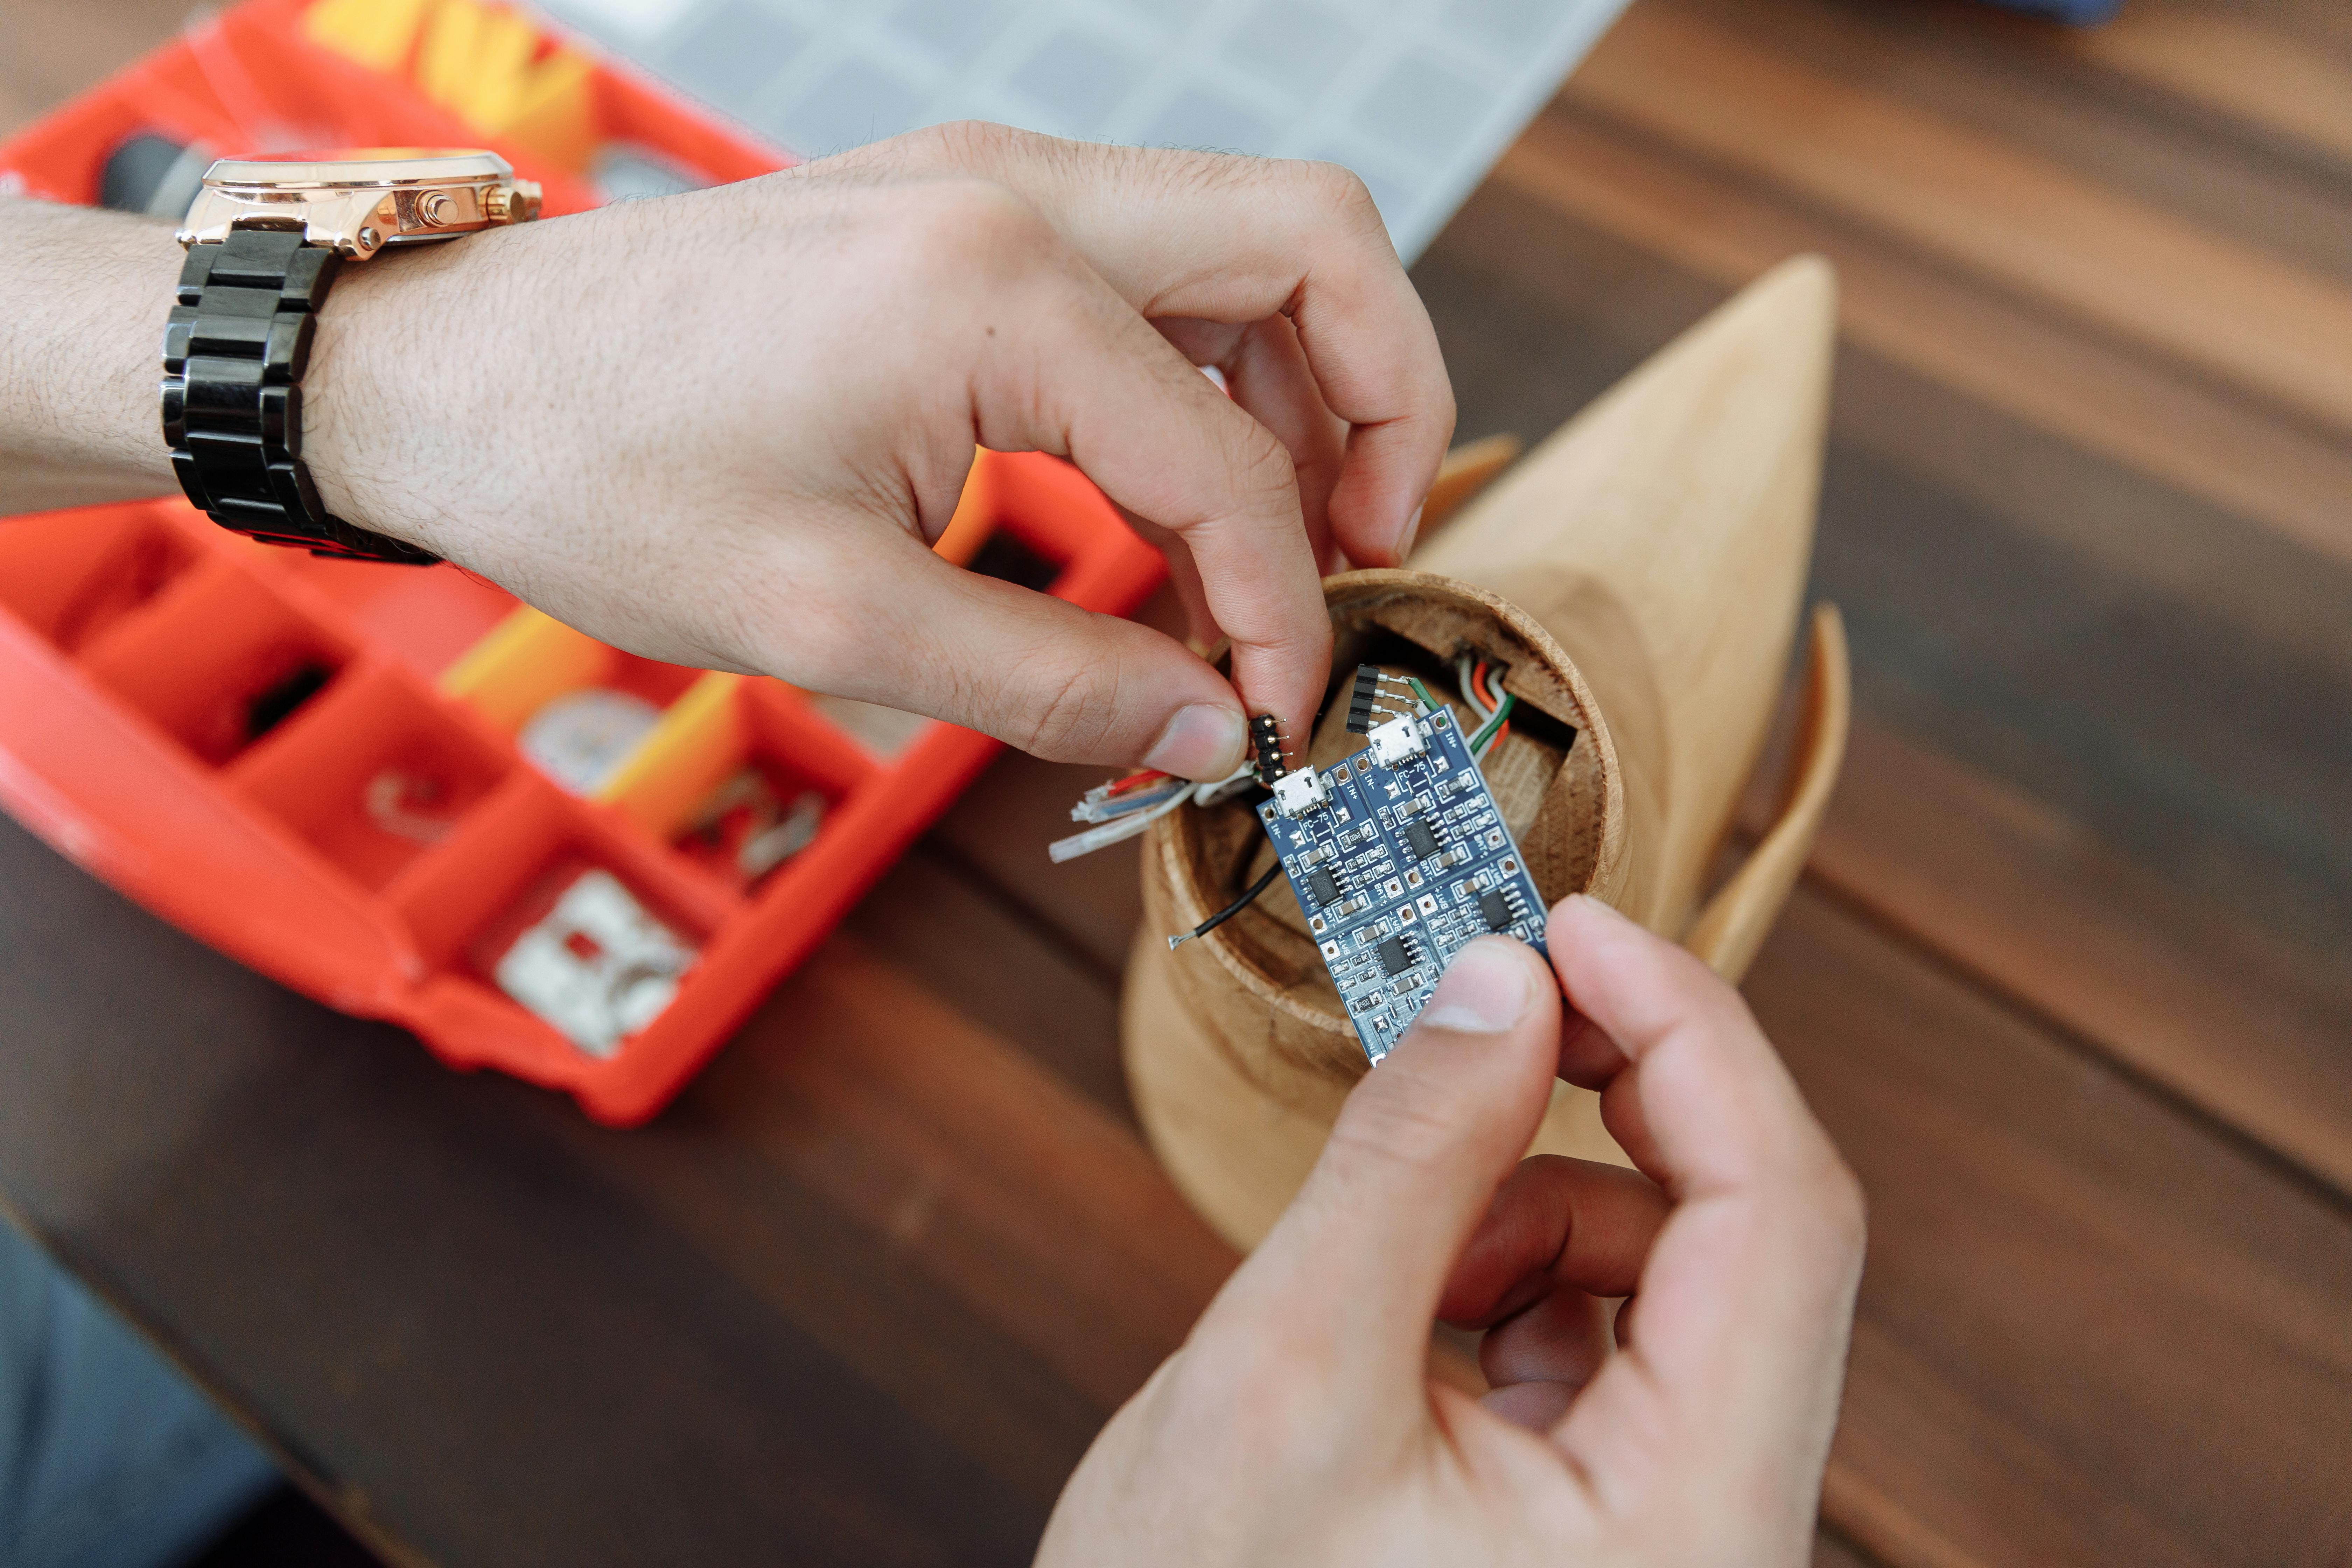
Troubleshooting DIY electronics can seem tricky. Many issues may crop up during your build. Let's dive into some common problems and fixes for your DIY electronics projects.
Common Issues in DIY Electronics
Finding the problem is the first step to a solution. Often, faulty assembly or incorrect components cause trouble. Maybe you've mixed up resistor values or installed a capacitor the wrong way. Soldering errors can also hinder connections, blocking circuit flow. Always double-check every part's placement during your build. When unsure, refer to your project's resource guide.
Using a Multimeter for Troubleshooting
A multimeter is your best friend in solving electrical issues. It checks voltage, current, and resistance. Begin with testing the power supply. If your device isn't turning on, the power source might have failed. Next, test connections and components. Set the multimeter to measure resistance and test each part. A properly-working component won't show infinite resistance. If one does, replace it. We must pinpoint faults to accurately troubleshoot, and a multimeter excels at this.
Tips to Diagnose Circuit Problems Swiftly
Swift diagnosis requires a clear method. First, work in small sections of the circuit. This helps to isolate issues without getting overwhelmed. Focus on areas that interact closely. If an LED won't light up, trace the path of current in that section. Check ends of wires or solder points for weak connections. Visual inspections are vital. Look for burn marks, unconnected parts, or misplaced components.
Correct polarity of components like diodes and capacitors. Ensure each is facing the correct direction. A wrong orientation could block current or even damage parts. When something isn't right, carefully unsolder and recheck details before placing it again.
Enhancing Troubleshooting Skills
Improving troubleshooting skills requires practice. Start small with simple electronic kits like a Flip Flop LED. These kits teach you about component roles. They guide you on resistor and capacitor placement, all while honing soldering techniques.
When a project is finished, revisit and analyze your process. Reflect on what went wrong, and map out solutions. Ask yourself, “Why did the circuit fail and how can I avoid it next time?” Reflecting boosts learning since it turns mistakes into hard-earned lessons.
In conclusion, successful troubleshooting involves being prepared with the right tools and knowledge. It's a journey of discovery and patience. By learning to identify and solve problems, you enhance your skill set and readiness for challenges in future DIY electronics projects.
How Do You Choose the Right Electronics DIY Kits?
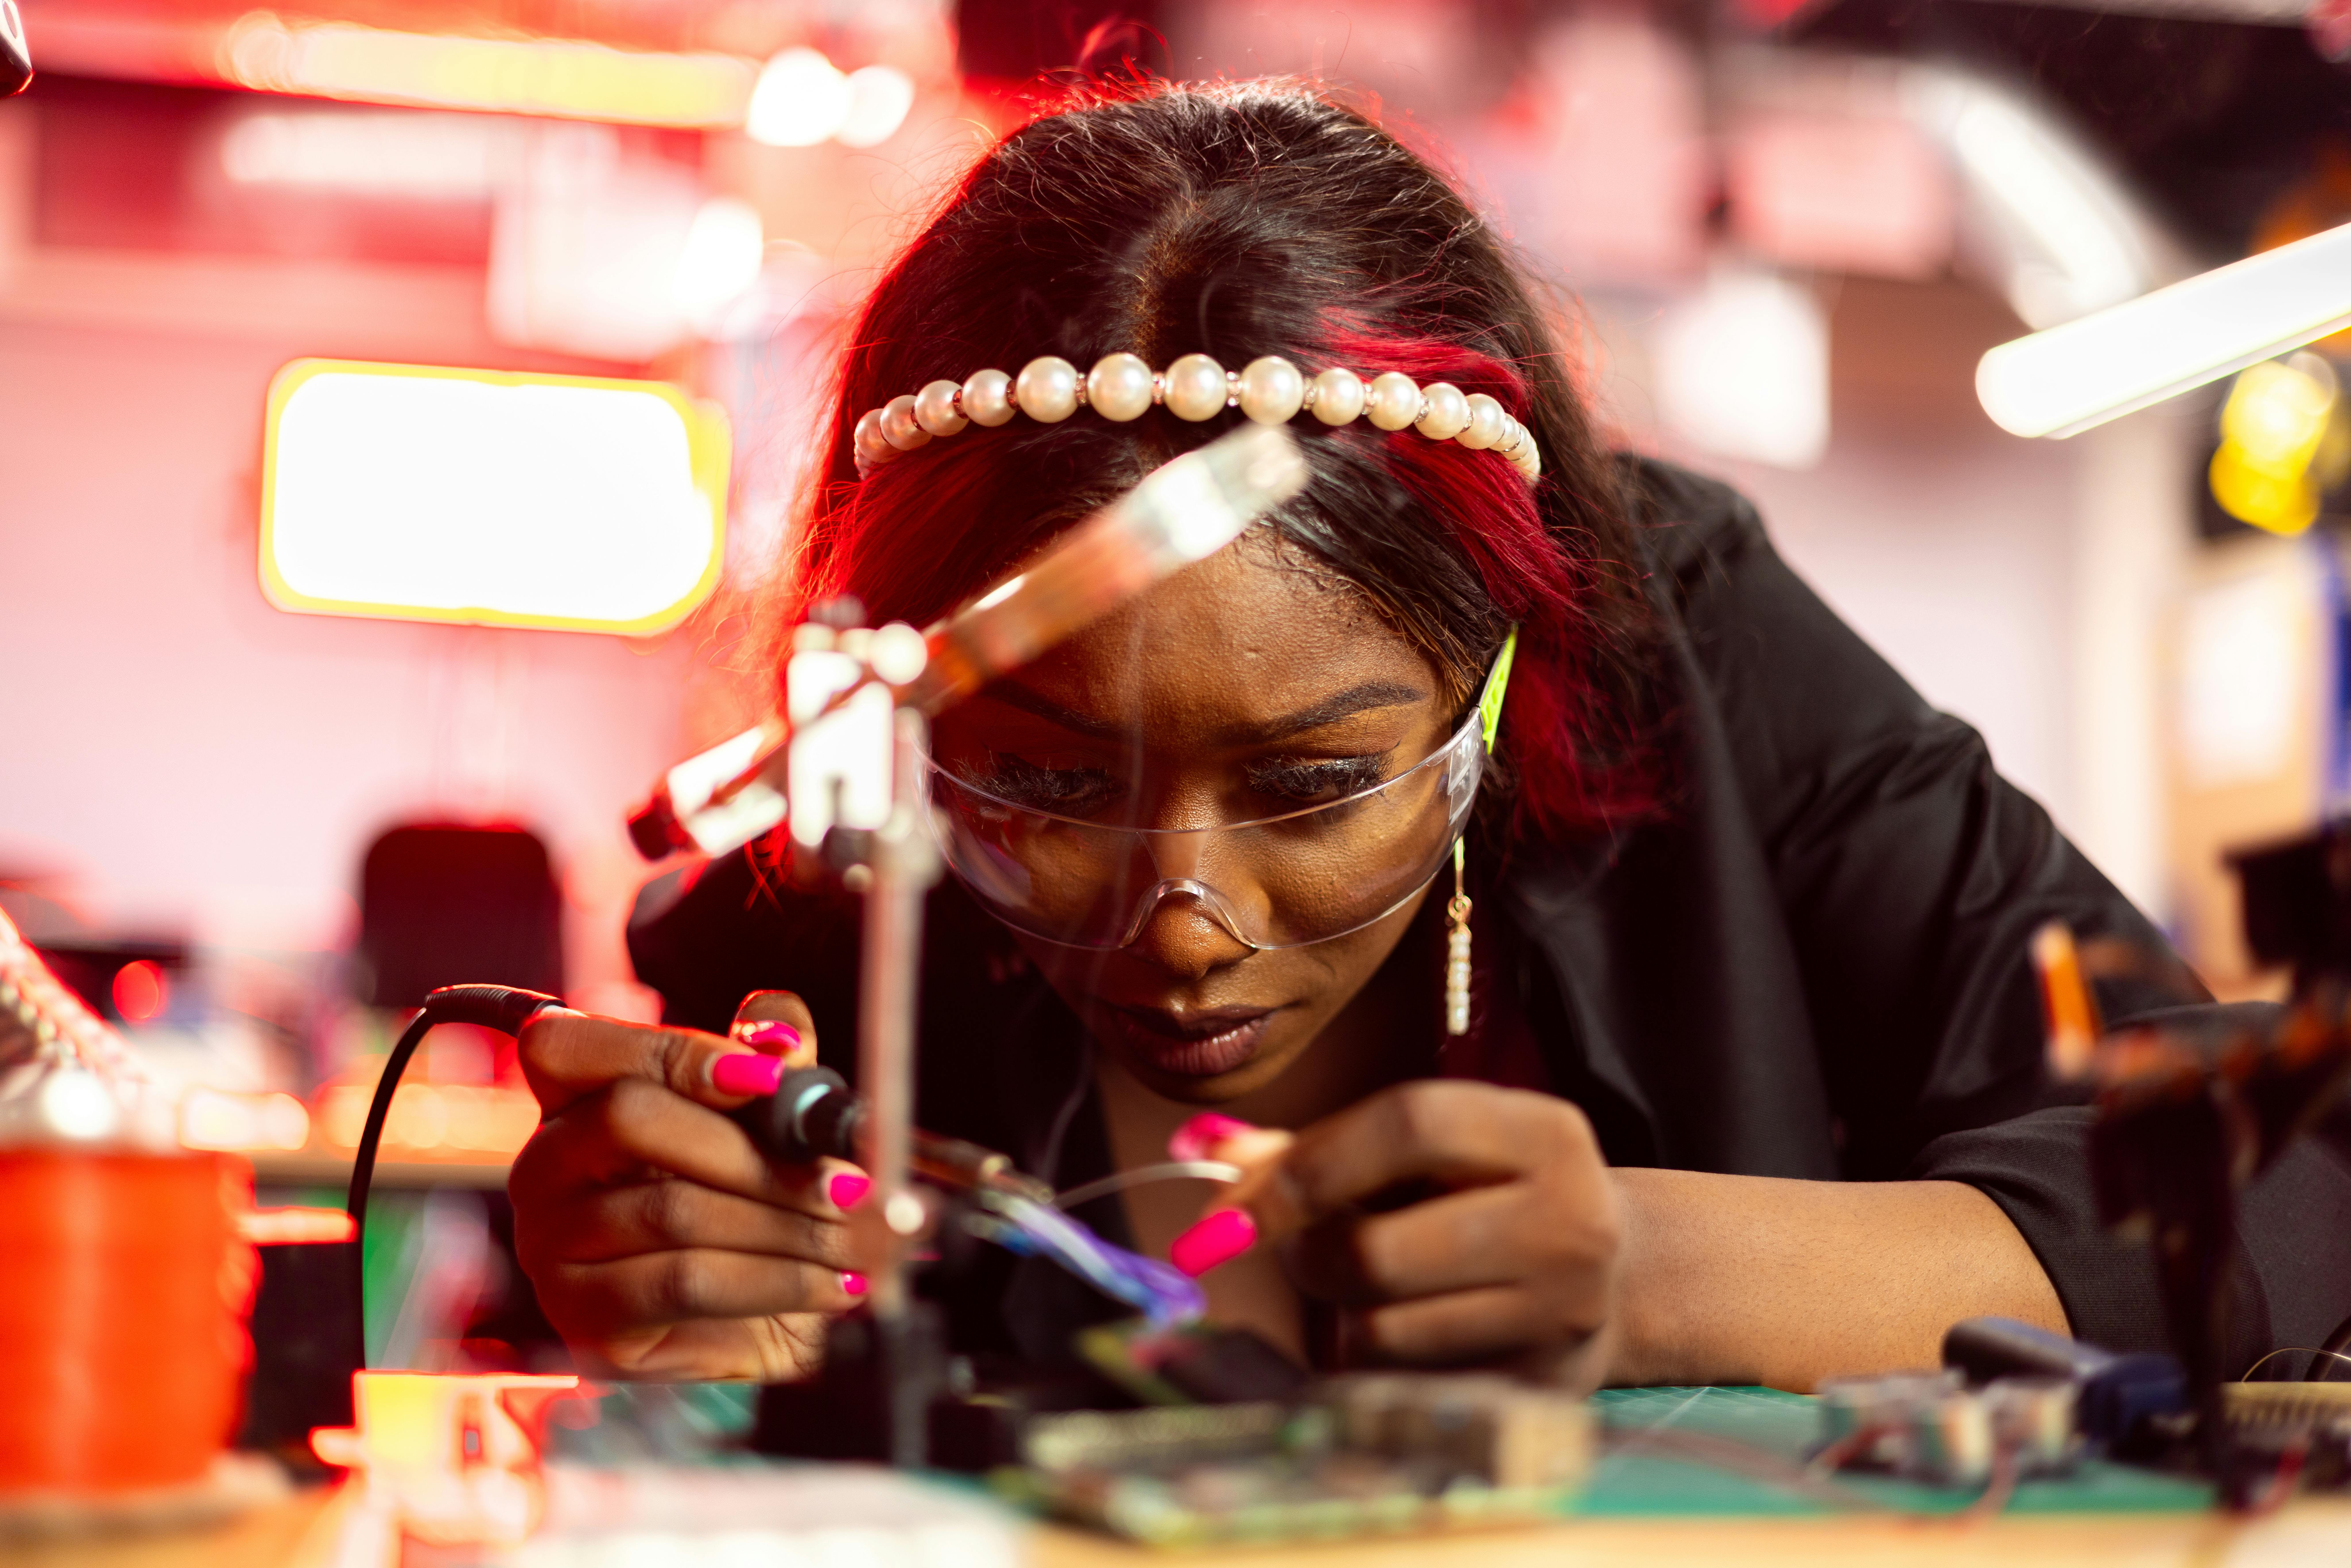
Choosing the right electronics DIY kit can be daunting for beginners but crucial for success. Start by evaluating your skill level. If you are new, begin with simple kits. They often include basic parts like resistors, capacitors, and transistors. These kits usually support learning by focusing on component recognition and simple soldering techniques.
What factors determine the best kit for your skill level? Precision in answering this involves considering two main factors. First, look at the complexity of the circuit. Kits with fewer connections and components are easier. Second, review the assembly instructions. Clear instructions or well-labelled PCBs can greatly help. Beginners benefit from kits with simple designs and detailed guidance. A good beginner project often has larger components which are easier to handle. Avoid kits that assume you understand complex schematics unless you have experience.
Now, how to assess the quality of DIY kits before purchase? Precision in this regard relies on ensuring you know whether the components in the kit are reliable and safe. Always check product reviews and ratings before buying a kit. These reviews can highlight issues with component quality or lack of guidance. Ensure that the kit includes a PCB that is clearly labelled, as this helps in understanding how to place components correctly. A PCB with good labelling helps even if instructions are limited, which is often the case in cheap kits.
For students, the choice of the right electronics kits for students can enhance learning and excitement. So, what are some recommended kits for students? Based on both quality and educational value, kits like the Flip Flop LED flasher ($1.25), Sound Activated LED Flasher ($1.00), and DIY Electronic Doorbell ($1.82) are great for building foundational skills. They offer hands-on experience with components such as resistors and capacitors. These kits are low-cost and widely available on platforms like eBay and Aliexpress.
Moreover, these kits are great for skill-building through practical activities. The Flip Flop LED flasher teaches about circuits and the intermittent blinking of LEDs. It can be adapted for creative uses. Meanwhile, the Sound Activated LED Flasher involves a microphone that triggers LEDs, offering an engaging audio-visual challenge. The DIY Electronic Doorbell is a simple yet fun project, perfect for integrating minor circuit elements and learning through trial and error.
Before venturing into these projects, understanding specific skills is vital. Firstly, identifying and knowing the polarity of components are key. For instance, misplacement can cause the components to fail. Soldering is another crucial skill; use a clean, hot soldering iron and practice applying solder to a Vero board.
Don't overlook the importance of safe workshop practices. Working safely avoids hazards and protects both the builder and the components. Use protective eyewear and work in a well-ventilated area. Take care to handle components gently to prevent damage. A safe and organized workspace fosters focus and efficiency, essential parts of successful electronics building.
Ultimately, these projects serve as an introduction to skills in electronics. They help you grow confidence as you tackle DIY challenges. Each project brings new knowledge, equipping you to handle more complex builds in the future. So, gather your components, review the instructions, and start soldering. Your electronics journey is just beginning!
What Are the Essential Soldering Techniques for DIY Electronics?
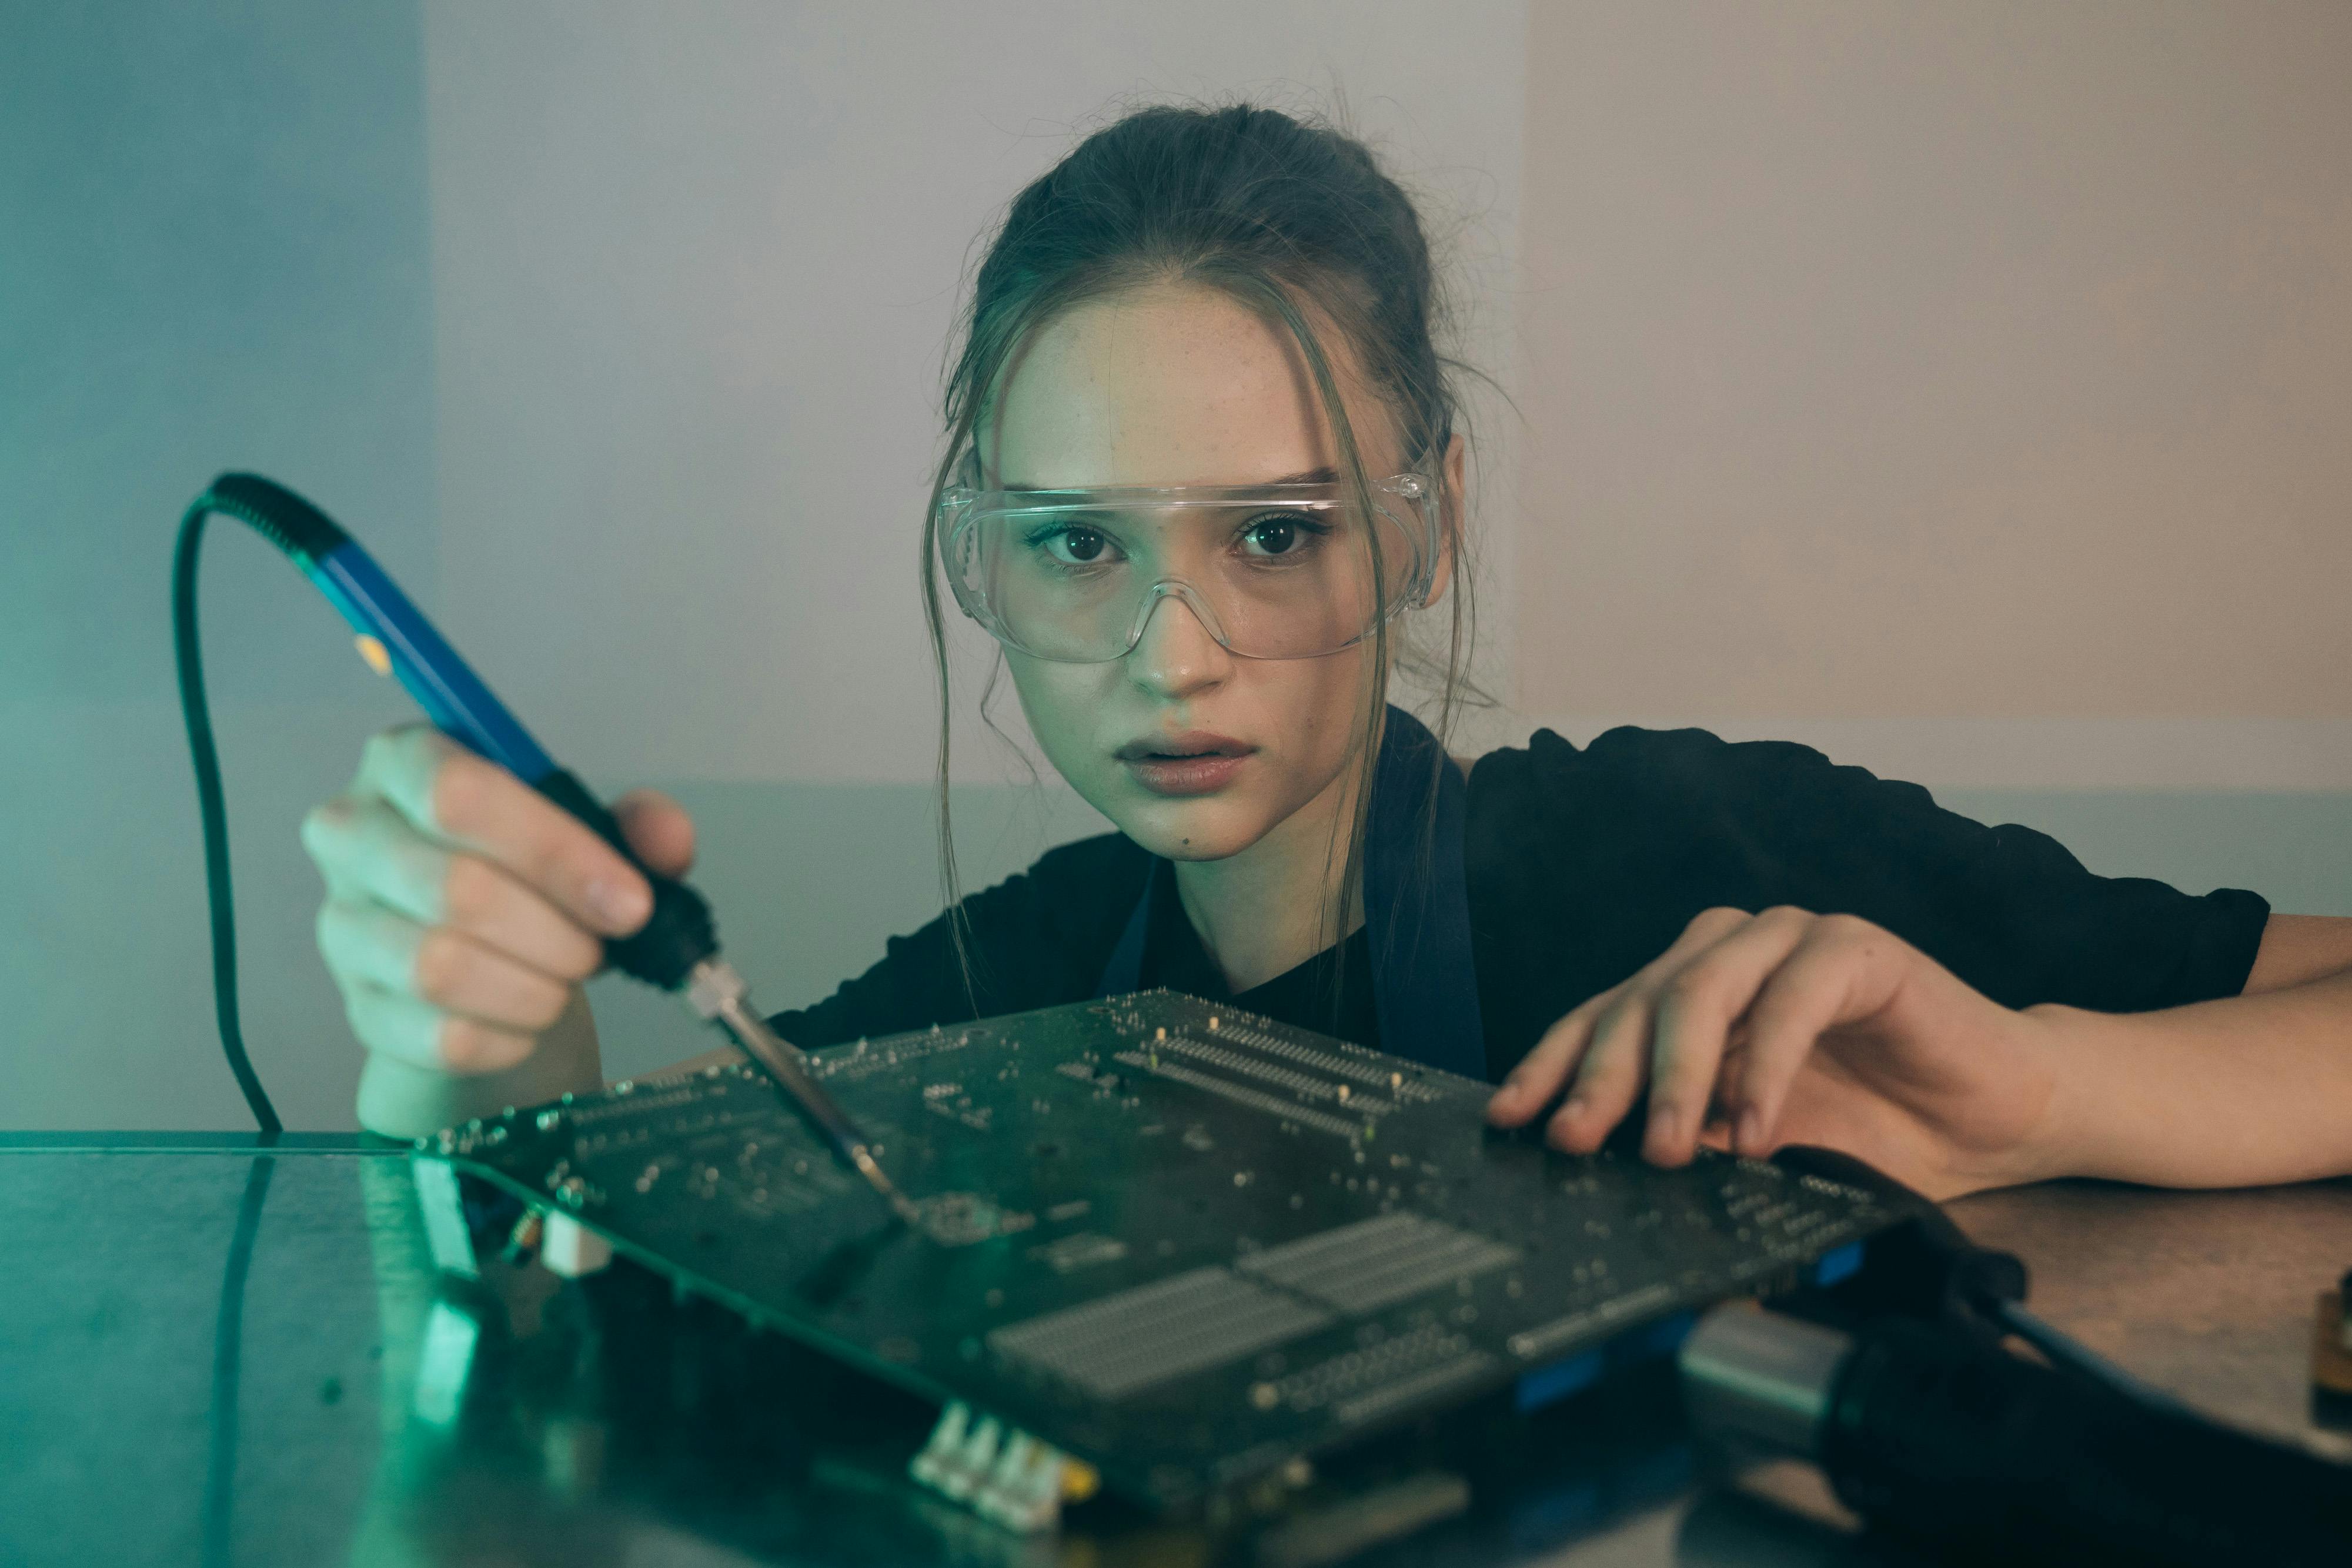
Proper soldering is crucial in DIY electronics. It ensures strong and reliable connections between components. Without good soldering, your project might not work or could fail quickly. I remember my first project, where a poorly soldered joint left me puzzled for hours. So, why is proper soldering important? Precision in soldering minimizes problems and enhances the stability of your projects.
Why is proper soldering important in electronics projects?
A secure solder joint creates a pathway for electric current between components. If the connection is weak, the circuit may not work. This can cause flickering lights or a dead project. I’ve learned from experience that verifying connections with a multimeter is crucial. It helps ensure that each joint has good continuity.
Soldering right prevents overheating components, which can damage them. A good connection withstands vibration, ensuring your device works smoothly. Imagine you have built something delicate like a DIY Electronic Doorbell. A poor joint and your bell could sound like a "dying frog," as some humorously put it. That is why proper soldering is the foundation of any good DIY project.
What are the basic tools needed for soldering?
For any DIY electronics project, having the right tools is key. Here’s what a beginner needs:
- Soldering Iron: Choose one with adjustable temperature control. This helps avoid burning your parts.
- Solder: Use a lead-free rosin-core solder, which is safe for electronics.
- Soldering Iron Stand: It keeps the hot iron safe and away from contact with anything flammable.
- Soldering Mat: Protects your work surface from hot solder.
- Desoldering Pump: Great for removing mistakes, as I have made plenty!
- Wire Cutter and Stripper: Essential for preparing your wires and components.
- Helping Hands or Clamp: To hold components steady while you work.
Having quality tools makes electronics assembly easier. Believe me, the right equipment reduces errors and frustration. A multimeter adds to your kit, helping check the integrity of soldered connections.
How can you improve your soldering skills?
Practice is key to mastering soldering techniques. Start with simple kits, like a Flip Flop LED flasher. It’s cheap and helps with practice. Begin with the low-profile components. Resistors and capacitors are great for building confidence.
Focus on board cleanliness and precision. Clean your soldering iron tip often, avoiding excess solder. Dirty tools make bad joints. When soldering, place the tip so it heats both the pad and the component lead. Then, feed solder onto the joint—not the iron. Move the iron away once done. It takes practice to get it right.
Reading guides can offer helpful techniques. Other enthusiasts' experiences save time learning from mistakes. Sometimes, components have different labels due to different sellers. Verifying these before soldering prevents errors.
Also, practices like assembling easy kits from platforms like eBay can be fun. These kits push you to practice soldering without fear. Flasher circuits change resistors and capacitors, offering varied practice. This teaches component value reading, crucial knowledge for any project.
By improving soldering techniques, you lay a foundation for successful electronics projects. Each finished project boosts confidence and skill for future tasks. Remember, soldering is more art than science. Practice binds this art with the science of circuits.
Conclusion
Embarking on DIY electronics projects can be both fun and rewarding. Start with simple tasks, like using LEDs, to grasp basic components. Identify your parts and understand their functions. Avoid common pitfalls like poor connections. Troubleshoot smartly. Use tools like a multimeter to sort out issues fast. Choose kits that match your skills and check their quality. Practice essential soldering techniques, which are vital for project success. By following these steps and refining your skills, you'll enhance your electronics journey. Remember, each project is a learning adventure, and growing your knowledge is key to success.

